How to Take Great Photos in Bad Lighting Conditions

As landscape photographers, we know that we can’t always be blessed with great lighting. In fact, more often than not, we tend to encounter poor lighting rather than the epic conditions that we so desperately yearn for.
- Check out these 12 Tips for Capturing Amazing City Skylines
- Discover How to Make Mesmerising Minimal Photography
- Find out more about Photography Techniques
If you’ve done any research about Iceland at all, then you’ll know that the weather here can be very unpredictable – it could be completely sunny one second, then the clouds will move in to make everything drastically dreary the next. These types of weather changes can occur throughout the year, no matter if it’s spring, summer, winter or autumn.
Although you may be hoping for fantastic weather during your trip to Iceland, it’s likely that you could be faced with adverse conditions on at least a day or two during your travels.
However, even when things are starting to look awry, most Icelanders will tell you not to pack up your photography gear just yet. That’s because it’s possible to shoot and make great photographs of the landscape in Iceland, despite what the weather may throw at you.
So when the sky is completely covered in cloud, with not an ounce of direct sunlight hitting the landscape in front of you, what can you possibly do to salvage the scene? In this article, we’ll explore how you can you make the most of bad lighting conditions in Iceland to ensure that you’ll still be able to take home a series of great photographs.
- See also: How to Take Great Photos in Bad Weather
Seek Out Objects That Are Better Suited to Overcast Light
On the face of it, dull weather in Iceland can make landscape photography seem particularly unexciting. When extensive cloud cover fills the sky, it can often block out all of the sunlight, resulting in a lack of shadows and ultimately contrast within the scene.
This can make otherwise incredible locations – such as the Jökulsárlón Glacier Lagoon or the Diamond Ice Beach – come across as nothing more than flat. Why else would you want to visit these places for photography unless you could bring home amazing photos that capture the excitement associated with an adrenaline-filled shoot?
Without any direct sunlight on the scene to highlight edges, lines, textures and curves, landscape images can lack depth and even appear a little two-dimensional. What’s more is that grey skies can even soften tones and mute other colours within the landscape, making images seem less vibrant than they would if you were to take them on a bright and sunny day.
If the landscape seems muted with a noticeable absence of strong colours and contrast, then the best thing that you can do is to look for subjects that are better suited to being photographed in overcast light. You might even have to concentrate a little bit more on your surroundings to find foreground elements that will catch the eye, though this isn’t actually all that hard to do.
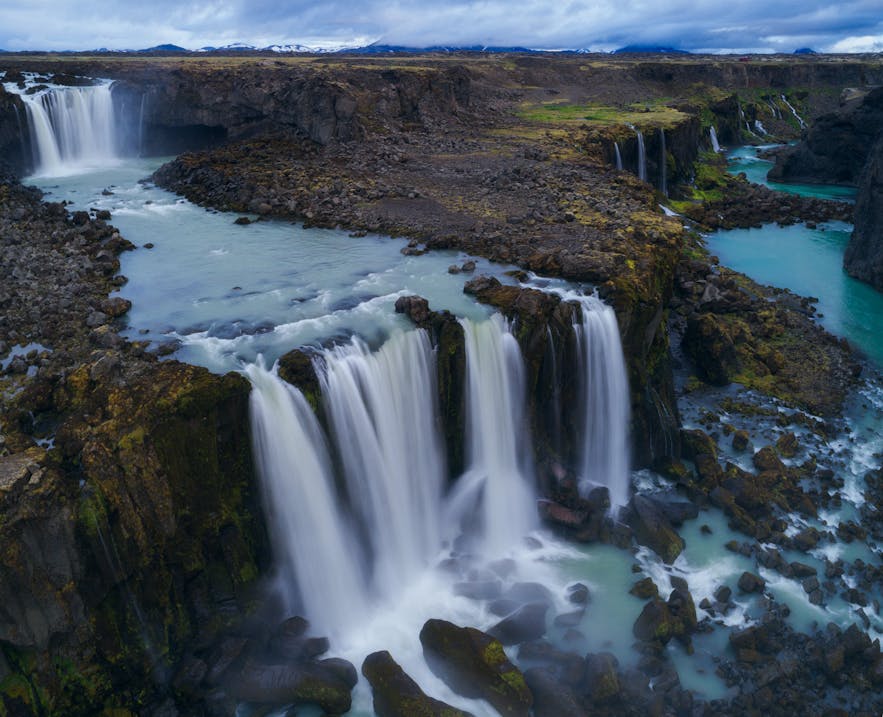 Waterfalls are a great subject when it's overcast outside. Photo by: 'Iurie Belegurschi'.
When looking for subjects to photograph in overcast light, try to focus on creating a strong composition by emphasising different shapes, forms and lines. Leading lines can help to distract from the bad lighting by taking the viewer on a journey around the frame of your composition, giving them an interesting subject to focus on.
One of the easiest things to photograph in Iceland when the weather is dull is moving water. Take a waterfall for example, where the powerful flow of water itself can create interesting lines and effects. By slowing down your shutter speed and creating a longer exposure, you can add another layer of dimension to the scene that will excite the viewer even if the sky is grey.
The movement of the water will easily contribute to the ‘wow’ factor, without the need for bright and sunny light.
Aside from waterfalls, there are many other locations in Iceland that are suitable for landscape photography in overcast light. These may be found all along the coastline, particularly around Reykjanes, the Snæfellsnes Peninsula and the magical South Coast.
When the sky is uninspiring, you only need to focus on the movement of the waves crashing in from the North Atlantic Ocean to be able to create interest within the scene. Try experimenting with different shutter speeds, both fast and slow, in order to achieve different effects. Concentrate on capturing the patterns created by the movement of the water around the coastline, or use the water itself to evoke a sense of moodiness and to influence the atmosphere of the scene.
You could try shooting a faster exposure in order to capture the sheer force of the waves as they make impact with the cliffs or try a longer exposure to add a sense of tranquility.
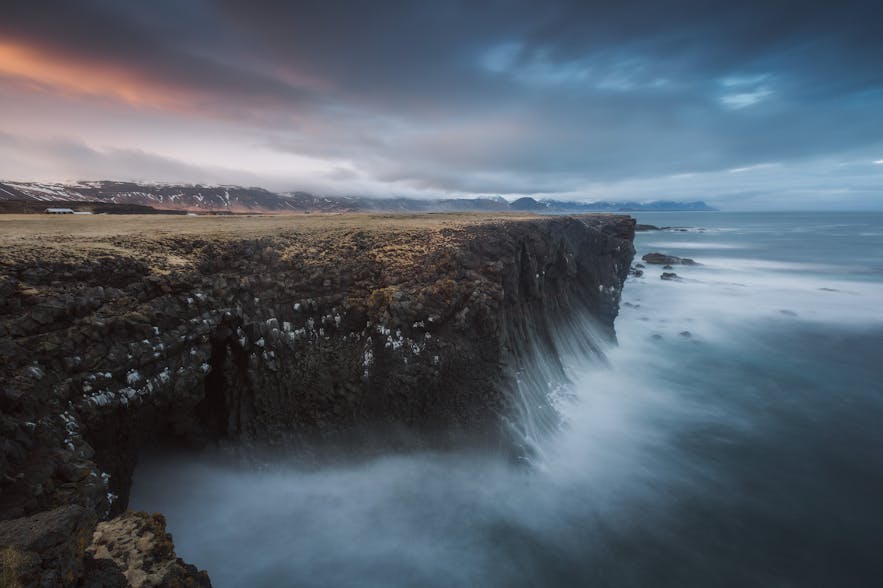 The waves along the Snæfellsnes Peninsula can make for an interesting effect when the lighting is dull. Photo by: 'Iurie Belegurschi'.
Another really wonderful thing about photographing along the coastline in Iceland is the nature of the landscapes that permeate these surrounds. You’ll be able to find a myriad of diverse subjects to star as the focal point of your images, from breathtaking sea stacks such as Hvítserkur to perilous basalt cliffs being pounded by waves all around.
The possibilities are endless, so you'll only need to do a little bit of scouting when you arrive at each location to come up with an interesting shot.
Try Abstract Photography
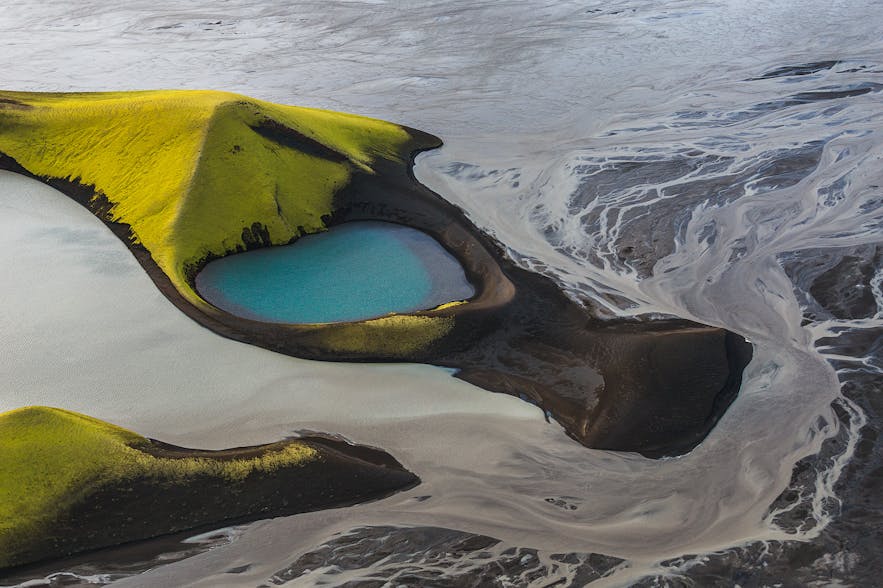 Dull lighting is great for abstract photography. Photo by: 'Iurie Belegurschi'.
Overcast light is also ideal for shooting abstract images or more intimate views of the landscape in Iceland. Try using a telephoto or macro lens to zoom in on details, such as moss in the lava fields, the natural patterns of the tall basalt cliff-face columns along Reynisfjara black sand beach, or even oxygen bubbles created within a puddle that has frozen over during winter. Alternatively, you can even try flying a drone or dabbling in some aerial photography by helicopter or plane.
The lack of shadows will mean that you can really highlight the different shapes, colours and textures that you see, particularly if you add just a touch of contrast and saturation later on with post-processing. Although they may not capture the vast and majestic landscapes as you’d hoped, these types of images can give you an alternative perspective of Iceland that would otherwise be lost on a bright and sunny day.
What to Do When Bad Lighting is Compounded by Poor Visibility
So we’ve talked about finding subjects that are better suited to photography under overcast light but what about when there’s poor visibility in Iceland from storm clouds or really bad fog?
Fog can really put a dampener on your efforts as it can reduce the light in the environment even further and cloud your surroundings, such that landscape photography becomes a near impossible feat.
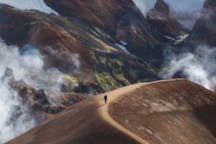
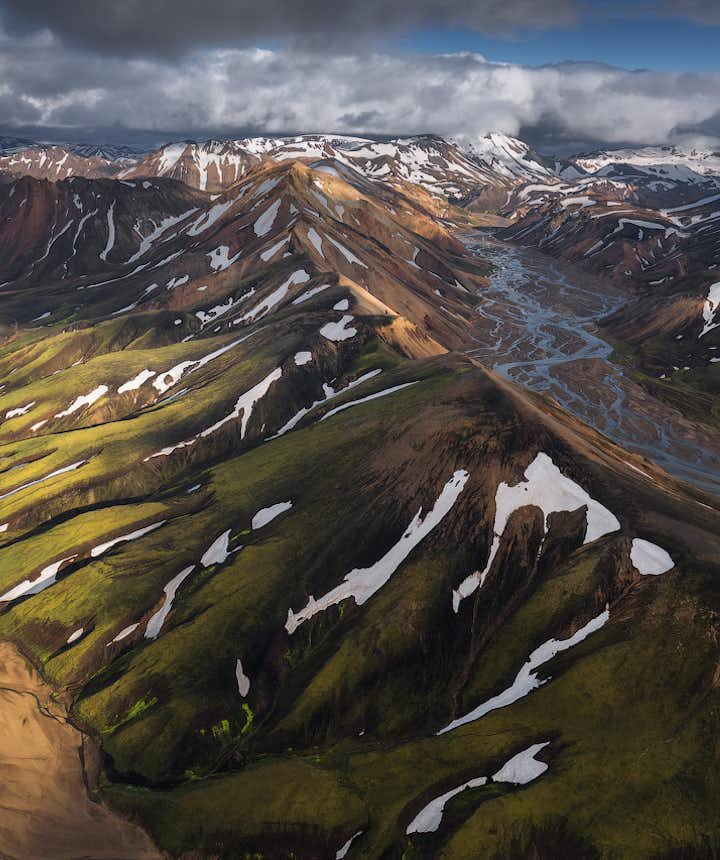
One place that works well for landscape photography in Iceland, even when the weather is dull like this, is the mysterious region known as the Highlands. In this mountainous area, blue skies and clouds juxtaposed with colourful rhyolite ridges can create absolute chaos for photography, with too many different shades and hues contributing to a cluttered frame.
On the other hand, fog and low contrast lighting can simplify the landscape, allowing the natural recession of tones in the rhyolite mountains and their shapes to really come alive.
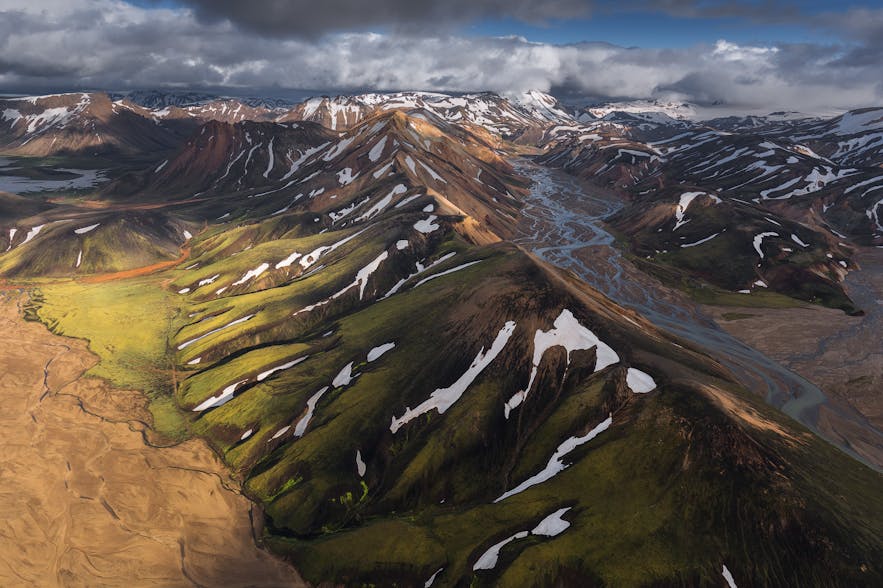 The Highlands are a great place to shoot when the lighting is dull. Photo by: 'Iurie Belegurschi'.
Given that you’ll be surrounded by mountains within very close proximity in the Highlands, the trick is to use a telephoto lens to focus on the textures, rather than going all-out with a wide angle lens.
Zooming in on particular elements is particularly useful when bad lighting is compounded by poor visibility amidst fog.
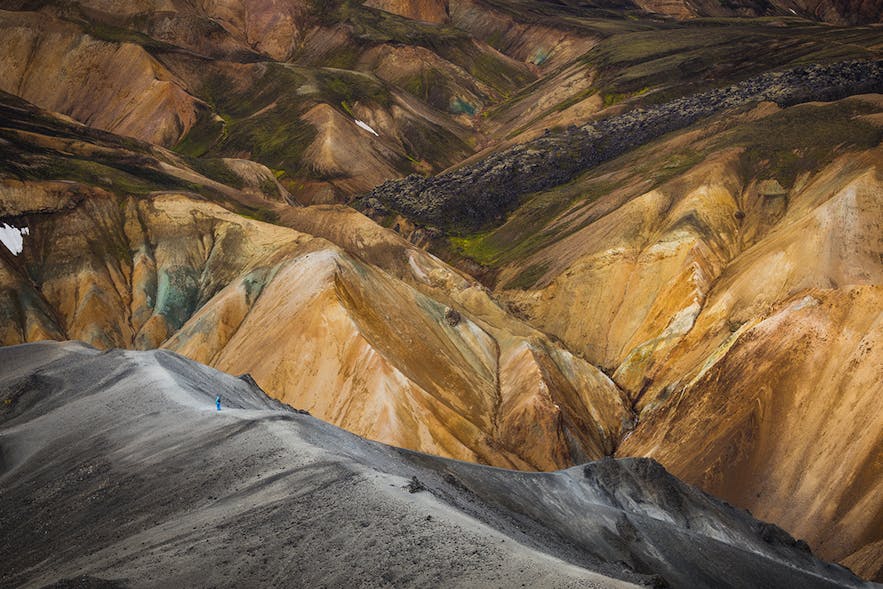 Zooming in with a telephoto lens will allow you to concentrate on textures and colours within the scene. Photo by: 'Iceland Photo Tours'.
Try not to include too much of the fog or low-lying clouds into your shots, as they will only create dead space within your compositions. Rather, focus on filling the frame with textures and patterns, using the fog as a minor element to create atmosphere instead.
The Lighting Isn’t Bad! It’s Dramatic and Moody…
When you’re travelling in Iceland and you’re served up with bad lighting, the simple solution is to make the most of the dark tones to create dramatic and moody landscapes.
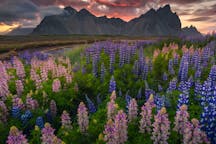
Think of ominous clouds combined with waves crashing high around a fragile sea stack in the middle of the North Atlantic Ocean or the windswept grassy foreground at the foot of Mt Vestrahorn – you can really amplify the sense of emotion and turmoil in this scene by darkening the sky even further with a graduated neutral density filter.
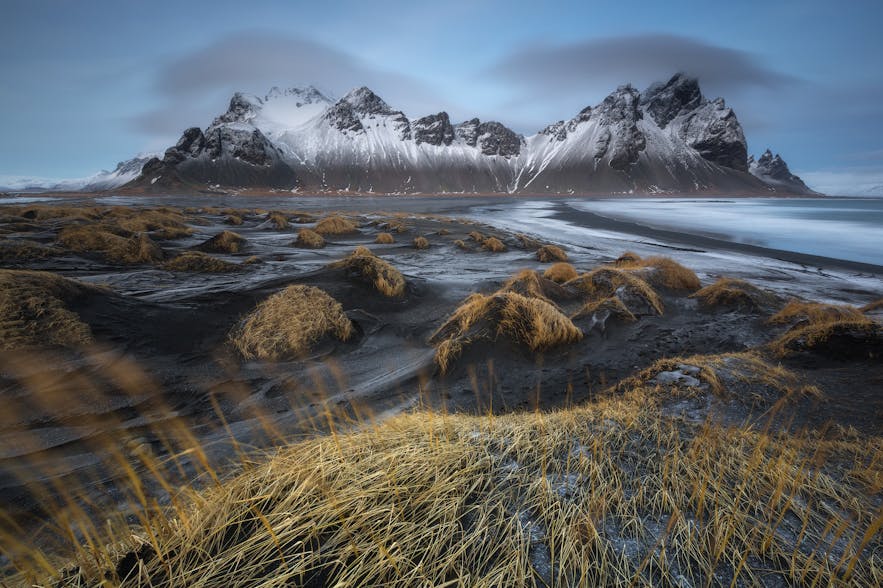 A moody day at Vestrahorn on the edge of Vatnajokull National Park. Photo by: 'Iurie Belegurschi'.
For shots like these, make sure that you have a strong subject that fills the majority of the frame, with additional elements such as clouds or swirling water in the surroundings to convey a sense of urgency and movement.
You can even enhance the drama and the mood in post-processing by using the Dodge and Burn tools to draw attention to certain areas, as well as by adding vignetting to darken the outside corners of your shot and to further draw the viewer in.
Think in Black and White
Another useful technique for taking great photos in Iceland even when the lighting is bad is to shoot in black and white or to convert to black and white in post-processing. When the landscape is flat and dull, washed out colours won’t contribute very much to your compositions. However, by converting to black and white, you can play with contrasts and highlights to bring back some of the interesting features within the scene.
When shooting in black and white, you’re giving the viewer much less to focus on, so you’ll need to take extra steps to make sure that your images are ultra sharp. It also pays to ensure a clear variance in shades that will prevent your photos from looking overly grey and boring. Focus on the way that the shadows and textures interact in order to enhance them to get the most out of your images.
Of course, not every photo is suitable for conversion into black and white, and not every scene will lend itself well to being shot in monochrome. However, when done well, black and white photography can give the landscape in Iceland a truly striking quality.
Although there still will be times when the weather in Iceland is so bad that all you can do is to pack your camera away, dull lighting isn’t one of them. By embracing the conditions, you’ll be more likely to head home with a diverse and interesting array of images than you would if you were blessed with blue skies, sunshine and fluffy white clouds. After all, if you’ve gone to the trouble of planning a landscape photography trip to Iceland, there is every reason to keep your camera ready and to shoot, no matter how dull the lighting may be.
About the author: Serena Dzenis is a landscape photographer based in Iceland. You can find more of her work on her website or by following her on Facebook and Instagram.
Explore the pristine nature of Iceland as you take your photography skills to a whole new level! Check out our range of photography workshops and tours, which are designed to help you get the most out of your travels.
Other interesting articles

Landscape Photography | Everything You Need to Know
Few photography genres are as comprehensive as landscape photography. Along with portrait photography, this is the biggest area of photography to get started in. After all, both get distinct frame o...Read more
Ultimate Guide to Sunrise Photography
There is something to be said for getting up early enough to catch the sunrise. The moment when the sun appears on the horizon, casting the first light of morning across the landscape can make for g...Read more
The Most Popular Destinations for Photography Around the World
I don’t think that I’m the only person who is always looking forward to the next adventure. Like most other people, I'm always studying the best places to visit so that I can capture some of the mos...Read more


